
Before we get into the nitty-gritty, let’s set the record straight and discuss what a SMART goal...
So you’ve accidentally given the work experience kid Super Admin permissions on HubSpot in their second week and they start causing chaos in your HubSpot CRM. Okay, they might not channel their inner Daenerys Targaryen and let the power get to their head (one for all you Game of Thrones fans out there), but it’s better to be safe than sorry when sorting out HubSpot user permissions.

So, if you know nothing, I’m here to help. Here’s how you can edit HubSpot user permissions like a pro.
- How to edit HubSpot user permissions
- What are the different types of HubSpot users?
- The technical stuff: Marketing Hub
How to edit HubSpot user permissions
The marketing team is busy building blogs, the sales team is chipping away by working a pool of leads and the service team is answering a collection of customer tickets. That’s great - everything’s working perfectly but structures can become more complex as your company grows.
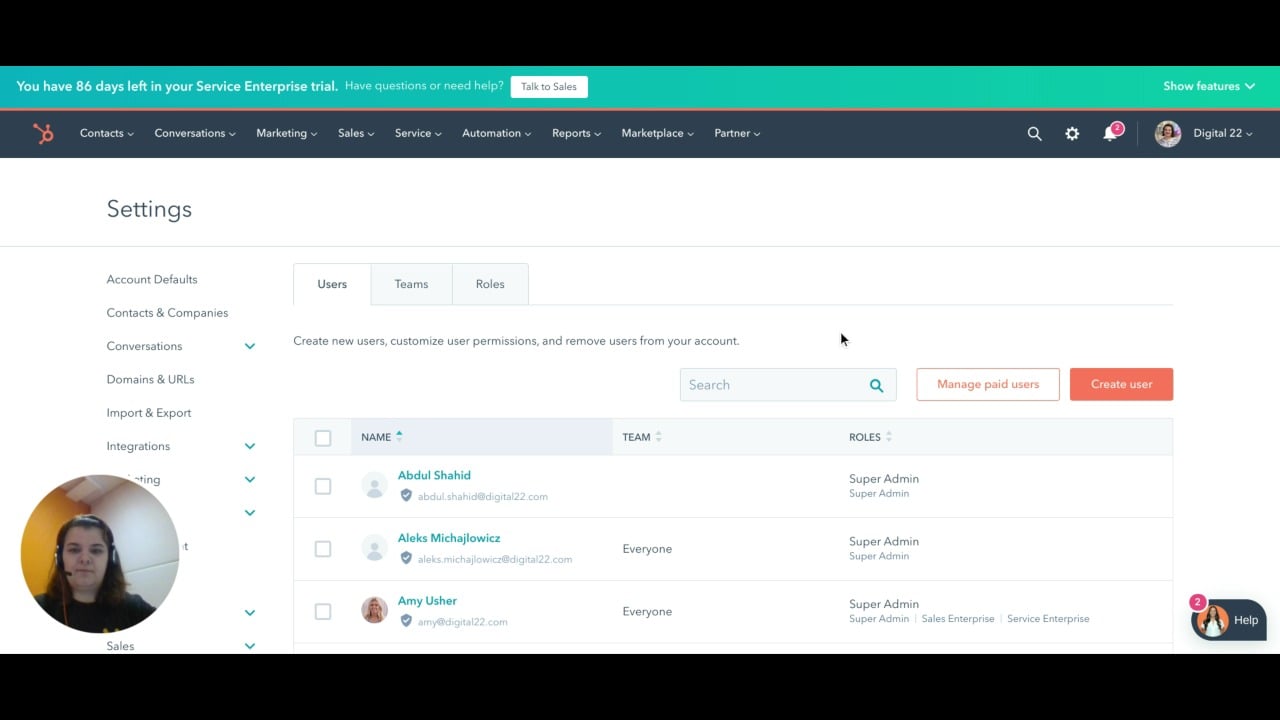
HubSpot’s permissions mean every user in your team will have access to the relevant assets. This means better organisation and higher efficiency for your team. Here’s how to find the screen I’m talking about.
1. In your HubSpot account, click the settings icon in the main navigation bar.
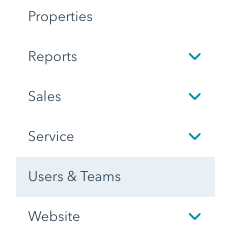
2. Click Users & Teams in the left sidebar menu.
3. Click the name of the user whose permissions you want to edit.

4. In the right panel, navigate the tabs to grant and restrict permissions.
5. If you’ve created roles, you can assign the relevant users to a role and grant them the role’s permission set. Trust me, this can save a lot of time.
 6. If you really want to give someone a lot of power, click the Actions dropdown and select the Make Super Admin option. This automatically gives the user all of the tools and settings. Although, you can only do this if you’re a Super Admin yourself. I'm not...so I can't.
7. At the bottom, click Save.
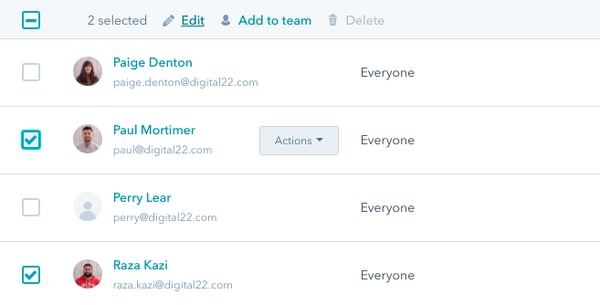
8. To change multiple user permissions at once, just tick the boxes of the users you want to edit and then repeat the editing process.
A bonus tip - make sure you give every user access to at least one product. If you don’t, they’ll disappear quicker than The Avengers did when Thanos snapped his fingers. When you have some spare time, conduct a user audit and go through them all to make sure that everyone has access to the relevant areas.
That’s the editing bit sorted. Now you can learn more about what all of these permissions actually mean.
What are the different types of HubSpot users?
It’s pretty easy to get a user from your team set up on HubSpot. All you need to get going is the name and email address of each person you’d like to make a user in HubSpot. This bit also lets you set up the account admin too.
HubSpot User: the user has access to all of the fantastic HubSpot tools and you can edit their permissions to make them an admin.
Super Admin: The Super Admin has all the power, so it’s not just a cool title. Anyone that’s a Super Admin in your team has automatic access to all the tools and settings in HubSpot. They can also turn on GDPR in the HubSpot settings - so it’s a pretty big deal.
Blog Author: the user has access to the blog tool. They can save blogs as drafts, but can’t publish them.
Blog Publisher: the user has access to the blog tool. They can also save and publish articles. It’s probably a good idea to have anyone in your team that will be writing to have this user permission enabled.
The technical stuff: Marketing Hub
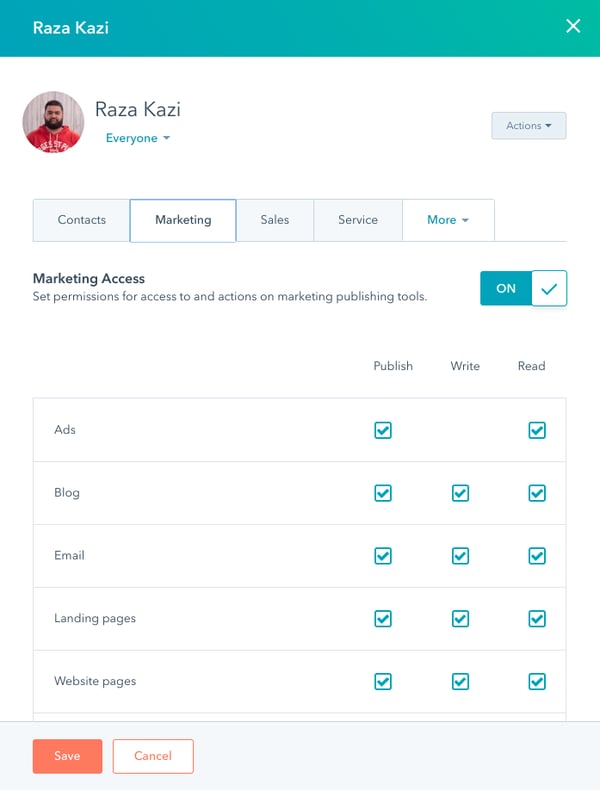
Obviously, I can’t get into your HubSpot portal to show you what all of the user permissions mean. What I can do is show you my own personal user permissions here at Digital 22. This should give you a good idea of exactly what a user can and can’t do - depending on the permissions you set for them.
In your HubSpot CRM, you’ll find that you can edit user permissions in contacts, marketing, sales, service, partner and admin. It all depends on the type of subscription you have.
Rather than writing a novel and showing you every single user permission in each of those areas, I’ll run through the marketing side of things which should paint the picture nicely.
Marketing access
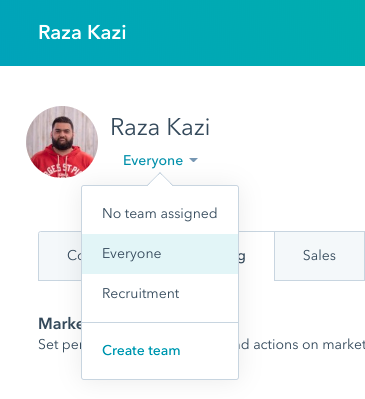
If you have a HubSpot Marketing Hub subscription, then you can make some user permission changes here. As you can see below, users with admin access can toggle the Marketing Access switch on or off. Mine is enabled which grants me the use of marketing tools within HubSpot.
The next thing you’ll notice on this page is the granular levels of access: publish, write and read. All of these checkboxes grant users different levels of permission to what they can and can’t do.
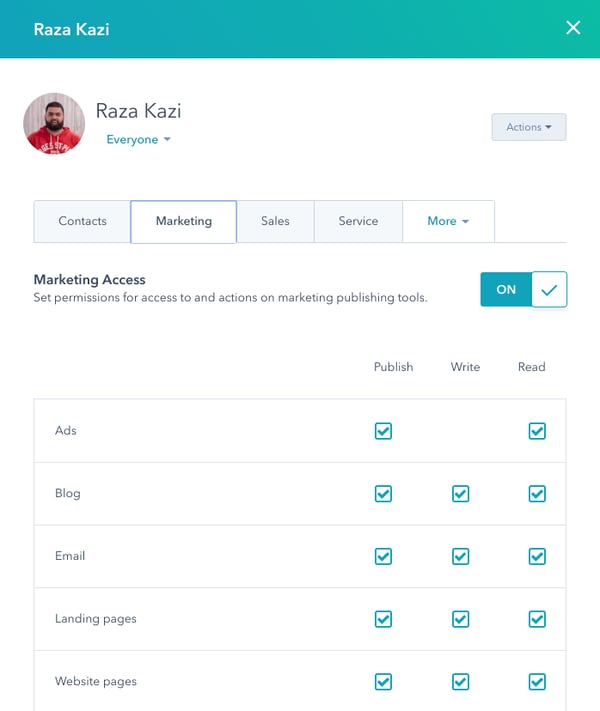
Ads: You can select the publish or read checkboxes to give access to the Ads tool. So, every user with these permissions can obviously read and publish any ads through the campaigns you create.
Blog: As a Content Marketer, this example would be most relevant to people like me. I have publish, write and read access to the Digital 22 blog tool. This means I can read the blog posts, create new ones and also publish them rather than just saving them as drafts and letting someone else hit publish.
Email: The same applies to the email tool. Users that are given write permissions can only create emails - they can’t send marketing emails or save them for automation to use in workflows. If publish and read permissions are given, then the user can do it all.
Landing pages: Again, you have the choice between publish, read and write checkboxes for landing pages in HubSpot. In my example, I’ve kindly been granted publish, write and read access to the tool. That means I can create landing pages, publish new pages or even update ones that are currently live.
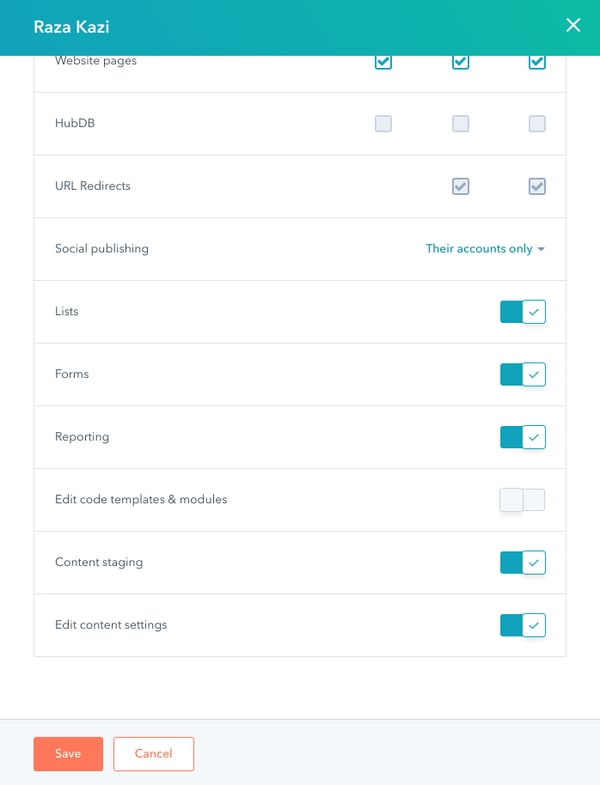
Website pages: This is where the finer details are important. You might have given relevant users full access to the landing page tool, but that doesn’t mean they automatically have access to edit and create new website pages.
By having publish, write and read access to the website pages tool, your users can create new websites pages, publish new ones and update existing ones. So if you’re in the middle of a big Growth-Driven Design web project, don’t risk slowing the process down. Make sure the relevant users have the access they need so they can make webpage changes.
Then you can break it down further by toggling other switches. For example, I can edit content settings but I don’t have the ability to edit code templates and modules at the risk of breaking something.
Plan out different scenarios and decide which of your users will need relevant permissions. It’s no good just giving everyone in your whole team access to every tool. If you don’t want someone to be able to edit web pages, revoke that access. If you don’t want others to mess with the coding side of things, don’t enable the relevant switch.
Whenever you do make any changes, make sure you hit the save button. It’d be a real shame to master the functionalities, spend time sorting permissions out and realising you have to start from scratch. User permissions are just one of the many essentials to have the back end of your HubSpot working nicely without any issues.
We know, there’s a lot involved in sorting HubSpot to make sure it’s working how you want it. To make sure you do it without any errors, get our complete HubSpot essentials guide below so that you can finally start using the powerful HubSpot CRM to its full potential.
Get your complete guide to setting up HubSpot
Form fields, the sales pipeline, lead grading...there can be a lot to get through. This is where the guide we’ve created will help.
From the basics like changing time zones to the things you’ll need to rope your developers in for, we’ve covered it all. Get your copy below to learn more about sorting out your HubSpot CRM the right away and how you can create compelling marketing campaigns.